

Hello there! How do you do? I hope you're doing extremely awesome! Just here to steal 5 minutes of your time (barely) if you'd allow me.
Here comes my first react app with tailwind css. I'll give you a breif idea about this cool project.
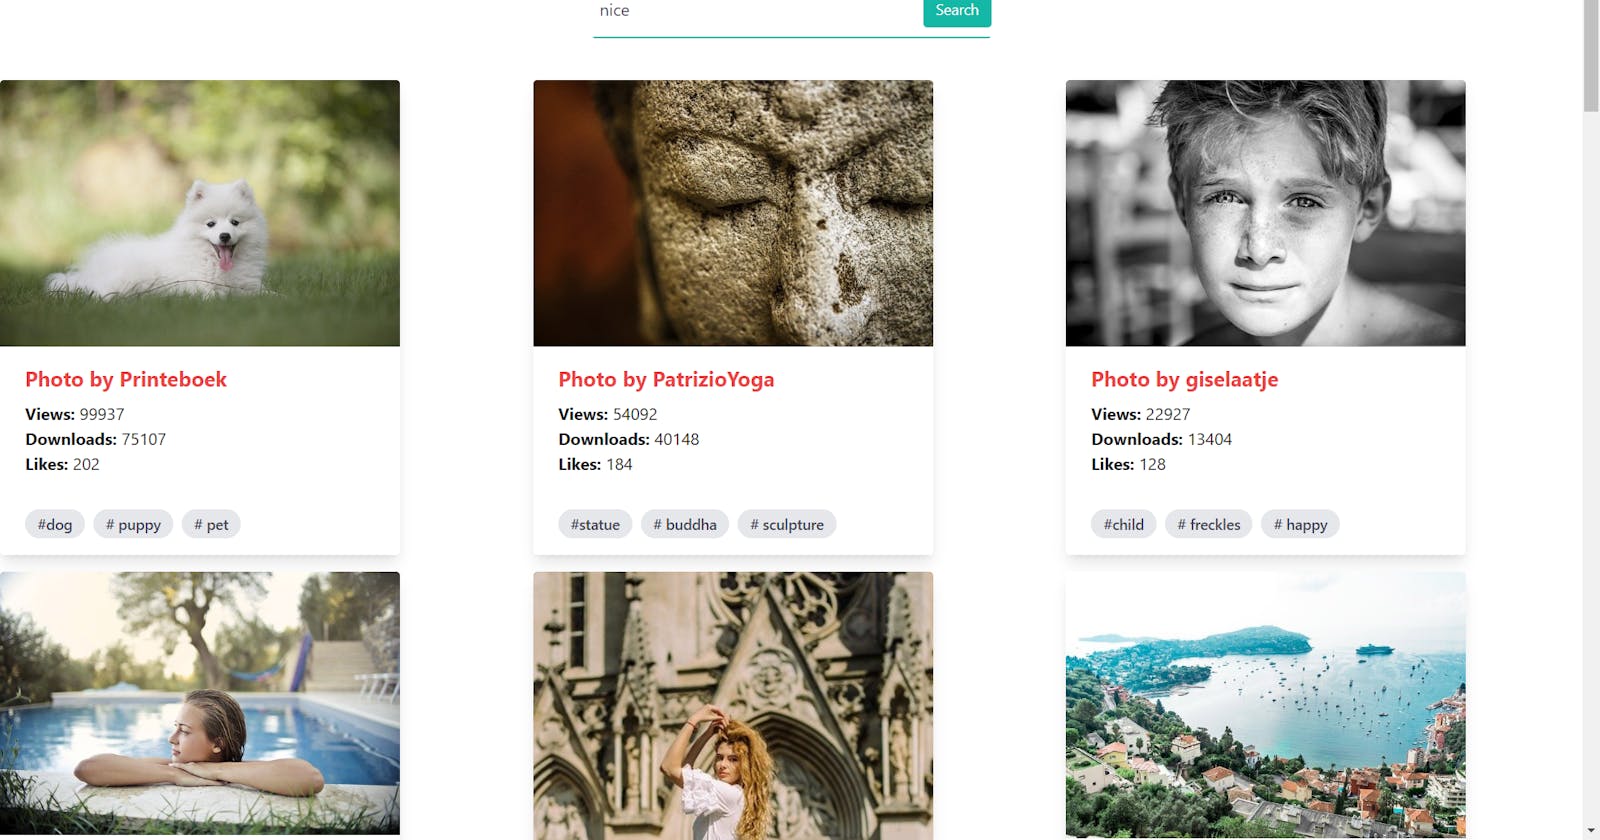
I have used an API from Pixabay to fetch some beautiful set of images and render them on the screen. Based on the user's input, this project will re-render the images matching the user's query. Pretty simple, right?

Let's Start Building
Creating a react app
First things first, we need to install react into our project. I'm assuming you've installed node in your pc.
1) Create a project
Create a folder named "react-tailwind-gallery" and open vs code editor and then open a terminal.
npx create-react-app . (coommand for windows)
2) Install Tailwind CSS
npm install -D tailwindcss postcss autoprefixer npx tailwindcss init -p
3) Configure tailwind.config.js file.
Create a file named "tailwind.config.js" and just copy paste the code below.
/** @type {import('tailwindcss').Config} */
module.exports = {
  content: [
    "./src/**/*.{js,jsx,ts,tsx}",
  ],
  theme: {
    extend: {},
  },
  plugins: [],
}
4) Add the Tailwind directives to your CSS
Add the below code to your ./src/index.css file.
@tailwind base; @tailwind components; @tailwind utilities;
5) Start your build process
npm start run
Now we've created a react project and integrated tailwind to our project. Cool. I'll make sure my root component App.js is up and running error free.
App.js
import { useState, useEffect } from "react";
import ImageCard from "./components/ImageCard";
import ImageSearch from "./components/ImageSearch";

function App() {
  const [images, setImages] = useState([]);
  const [isLoading, setIsLoading] = useState(true);
  const [term, setTerm] = useState('');

  useEffect(() => {
    fetch(`https://pixabay.com/api/?key={your-pixabay-key}&q=${term}&image_type=photo&pretty=true`)
    .then(response => response.json())
    .then(data => {
      setImages(data.hits);
      setIsLoading(false);
    })
    .catch(err => console.log(err));
  }, [term]);

  return (
    <div className="container mx-auto">
      <ImageSearch searchText = {(text) => setTerm(text)} />

      {!isLoading && images.length === 0 && <h1 className="text-5xl text-center mx-auto mt-32">No Images Found</h1>}

      {isLoading ? <h1 className="text-6xl text-center mx-auto mt-32">Loading...</h1>
      : <div className="grid grid-cols-3 gap-4">
        {images.map(image => (
          <ImageCard key = {image.id} image = {image} />
        ))}
      </div>}
    </div>
  );
}

export default App;
Don't be worried by the code. It's pretty simple. We're trying to render an array of images using an API pixabay using a key given by pixabay. Then we store the response and load the data into an array called images as soon as the page renders (with the help of useEffect hook it's made possible).
ImageCard.js
import React from 'react'

const ImageCard = (props) => {
    const tags = props.image.tags.split(',');

  return (
    <div className="max-w-sm rounded overflow-hidden shadow-lg">
      <img src={props.image.webformatURL} alt="random" className="w-full" />
      <div className="px-6 py-4">
        <div className="font-bold text-red-500 text-xl mb-2">
          Photo by {props.image.user}
        </div>
        <ul>
          <li>
            <strong>Views: </strong>
            {props.image.views}
          </li>
          <li>
            <strong>Downloads: </strong>
            {props.image.downloads}
          </li>
          <li>
            <strong>Likes: </strong>
            {props.image.likes}
          </li>
        </ul>
      </div>
      <div className="px-6 py-4">
        {tags.map((tag,index) => (
            <span key = {index} className="inline-block bg-gray-200 rounded-full px-3
            py-1 text-sm font-semibold text-gray-700 mr-2">
              #{tag}
            </span>
        ))}
      </div>
    </div>
  )
}

export default ImageCard;
This is the component we use for rendering each and every image card. Here I used the grid alignment to make sure that the image cards are rendered as 3 in coloumn and as many rows as they wish. It's all basics of react (I'm hoping you'd know them).
ImageSearch.js
import React, { useState } from 'react';

const ImageSearch = (props) => {
  const [text, setText] = useState('');

  const onSubmit = (e) => {
    e.preventDefault();
    props.searchText(text);
  }

  return (
    <div className='max-w-sm rounded overflow-hidden my-10 mx-auto'>
      <form onSubmit={onSubmit} className="w-full max-w-sm">
        <div className="flex items-center border-b border-b-2 border-teal-500 py-2">
            <input onChange={e => setText(e.target.value)} className="appearance-none bg-transparent border-none w-full text-gray-700 mr-3 py-1 px-2 leading-tight focus:outline-none" type="text" placeholder="Search Image Term..." />
            <button className="flex-shrink-0 bg-teal-500 hover:bg-teal-700 border-teal-500 hover:border-teal-700 text-sm border-4 text-white py-1 px-2 rounded" type="submit">
                Search
            </button>
        </div>
      </form>
    </div>
  )
}

export default ImageSearch;
This is the heart to our project. We provide an input field for the user to enter the query. For example, user entered "cats" so that we render only the images related to cats.

For each and every time, based on the user's query, this project renders the related image cards using the useEffect hook by fetching the API's data from Pixabay.
That's pretty much up to it. I don't wanna brag in or go deep. You can have my github repo and the live deployed link to experience the fun!
You can end here as the project is over. I just wanted to talk about the deployment part. Here I've deployed this project in GitHub Pages.
Deployment
1) Firstly create a repo in github with your project name
2) Enter the commands in your terminal as given below
git init
git add README.md
git commit -m "first commit"
git branch -M main
git remote add origin https://github.com/JagadeeshKJ/gallery.git
git push -u origin main
3) Add GitHub Pages dependency package using this command
npm install --save gh-pages
4) Add homepage property to package.json file
"homepage": "https://{username}.github.io/{your-repo-name}/"

5) Add deploy scripts to package.json file
"predeploy": "npm run build",
"deploy": "gh-pages -d build"

6) Deploy the Application to GitHub Pages
Now run the below command to deploy your react application to GitHub Pages.
npm run deploy
That's it. You'll get something like this, in your terminal (vs code).
gh-pages -d build
Published
Done in 18.14s
Now, you can access the live deployed link using the homepage link which you've added to your package.json
(Looks like this) "JagadeeshKJ.github.io/react-tailwind-gallery"
See you soon!